


The brake fluid is hydroscopic (absorbs water) and needs to be changed at least every 2 years. Brake fluid absorbs moisture from the air and distributes that through the system.
Moisture is bad since water can bubble and cause air forming inside the brake system.. air is bad inside the braking system so change your fluid at least once a year. The boiling point of brake fluid is the point at which the fluid starts the boil. The higher the boiling point the better, however with age brake fluid will absorb moisture and have a lower boiling point.
Tools you will need for this:
Bottle of new sealed brake fluid
old water bottle
one foot or more of hose
clean rag
brake parts cleaner
Phillips screwdriver
11mm box wrench
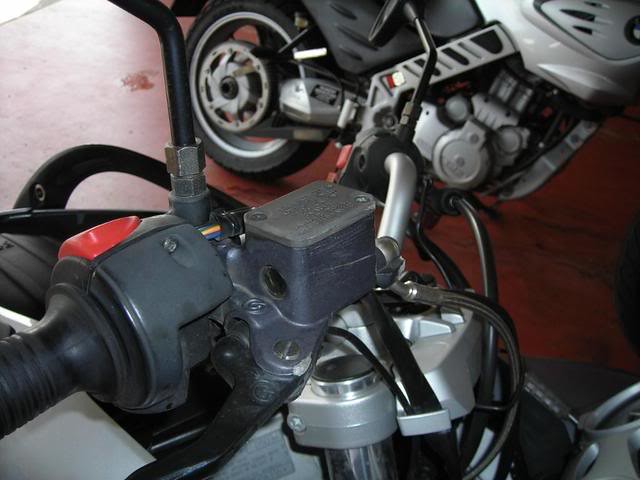
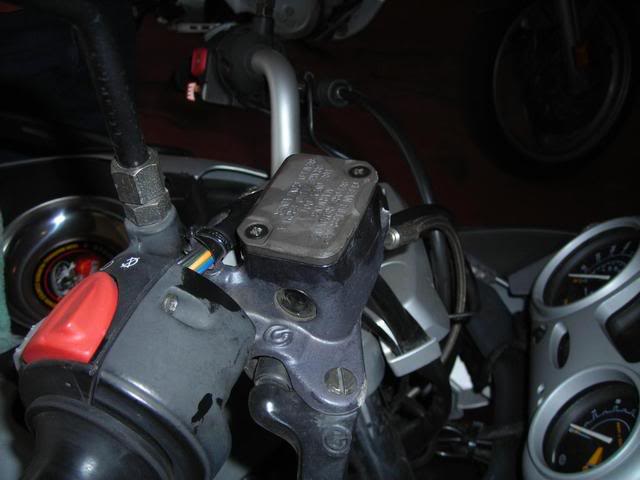
Clean around the front master cylinder
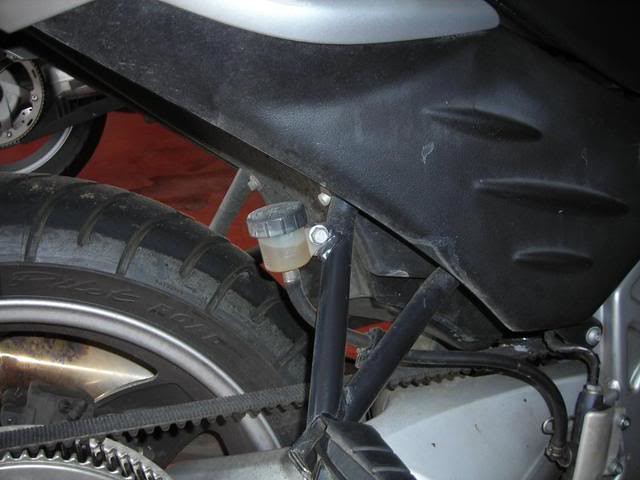
Clean any dirt off the rear cylinder
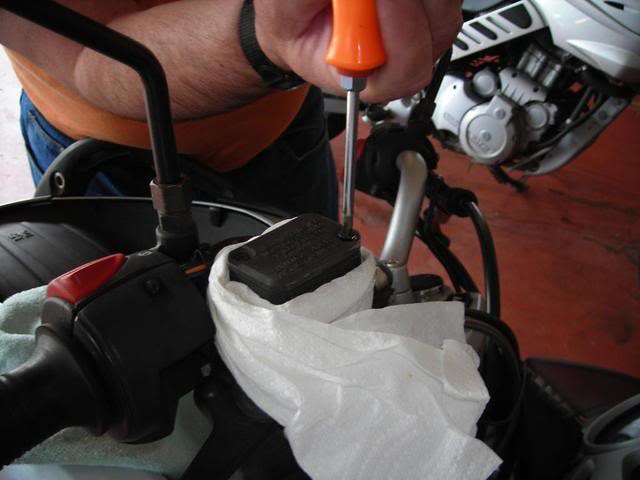
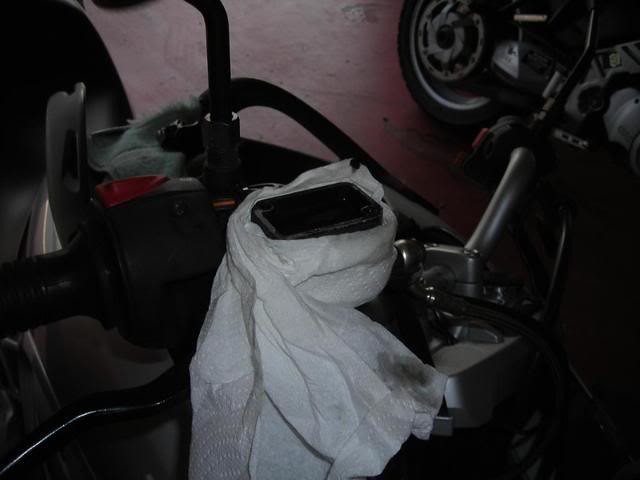
Brake fluid will eat up paint so wrap the master cylinder with a towel to catch any fluid dripping. Open the master cylinder with the Philips screwdriver
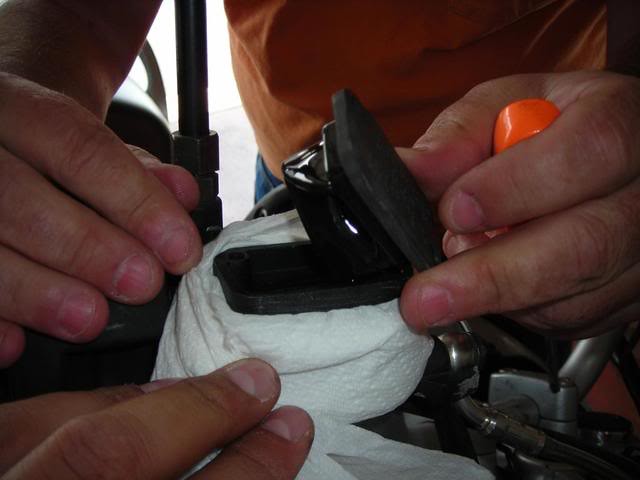
Watch out for the rubber diaphragm inside the front master cylinder. Once removed examine it for tears or rips.
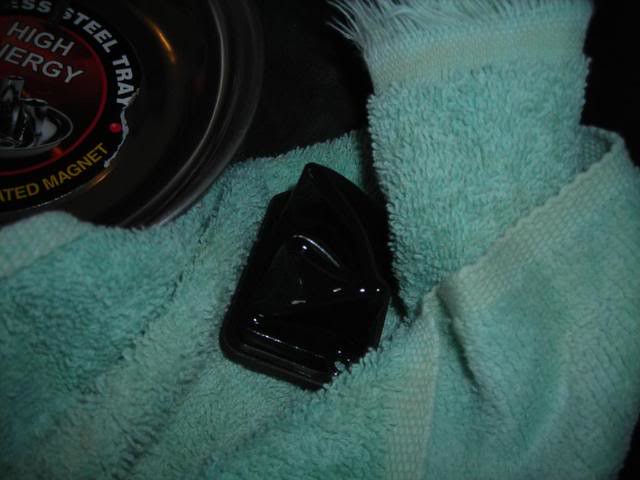
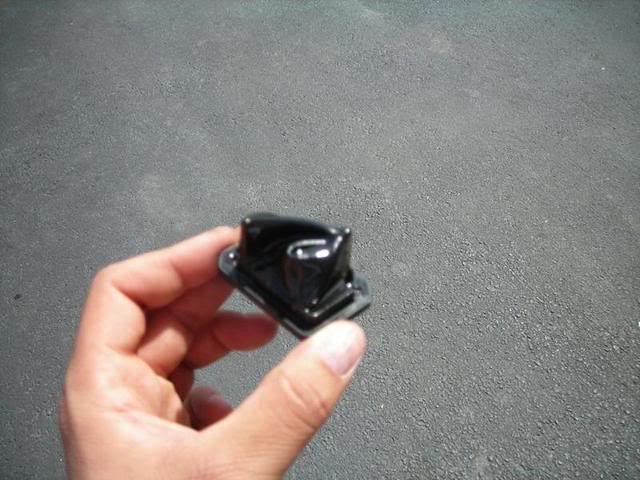
The rubber diaphragm has a Z shaped on the inside to reduce brake fluid getting shaken up.
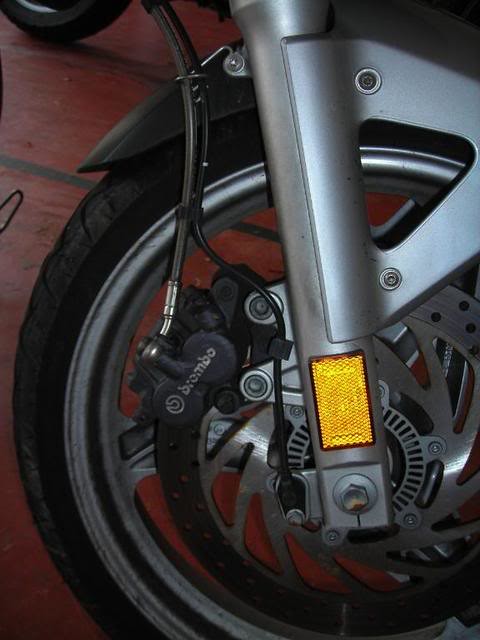
We start with the front brake caliper. Use brake parts cleaner and clean around the bleeder valve. It has a rubber cap which will get pulled off towards the top. It might be tight so a flat head screwdriver will help.
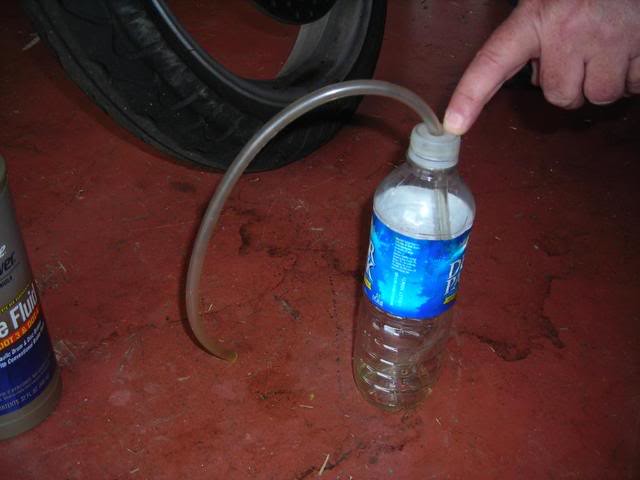
My brake fluid catch cylinder is an old water bottle with a hose drawn through the top cap. The hose is long enough to be slightly curved at the bottom. Always leave some old brake fluid inside the bottle and have the bottom of the hose submerged in the fluid.
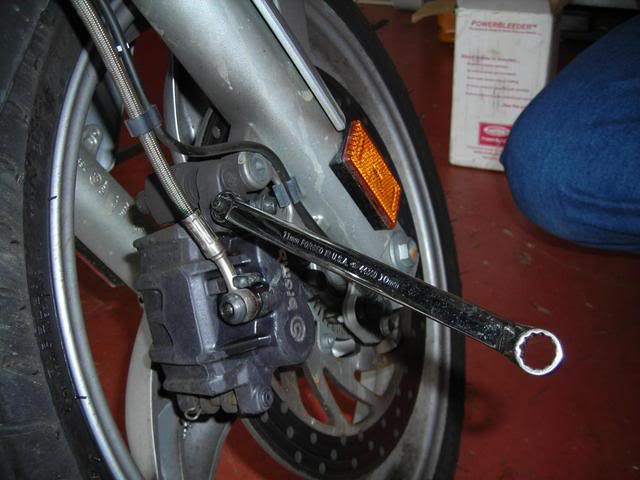
Only use box wrenches to work on the brake caliper. The brake bleeding valve is an 11mm nut that might be tight so place a fingertip onto the valve, turn the wrench counterclockwise and once loose close it slightly. That way it is easier to open and close the valve once the hose is attached.
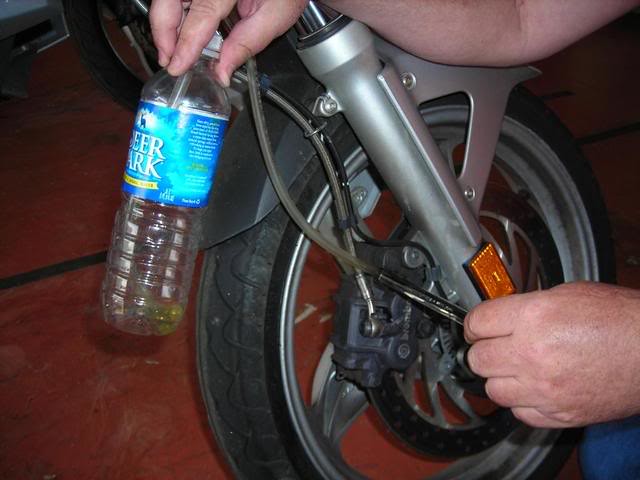
Attach the hose with bottle onto the bleeding valve and get ready to bleed the brakes.
You will need to keep an eye on the front master cylinder to make sure that it will NEVER RUN DRY or become empty. If you fail to do that; meaning the cylinder ran dry you might have introduced some air back into the system and you will have to start from scratch all over again!
Be sure to always have the collection container above the bleeding valve, air will travel upward and with the caliper below the collection container no air will travel back onto the braking system.
Before we get started on bleeding the brakes, use a syringe or turkey baster and remove some old brake fluid from the master cylinder. That way we wont be pushing old fluid through the system. Then fill up the cylinder to the top with fresh fluid. Now SLIGHTLY squeeze the brake lever and at the same time open the bleeding valve on the caliper. If you squeeze too fast there will be brake fluid SHOOTING out from the master cylinder. So slow and steady is the way to go.
Remember new brake fluid is semi clear and old brake fluid will look like urine. Squeeze and bleeding slowly and continuously until there is clear fluid coming out from the caliper and/or no more air bubbles (if you are bleeding because of air). The bleeding screw will maybe have to be turned 1/4 turn to half turn to get the bleeding going so do not take it off or have it wiggle inside the caliper.
Once you are done bleeding keep squeezing the lever and close the valve on the bottom. The brake lever should feel nice and tight, not spongy! If it is spongy you have introduced air into the system! No panic: Just start bleeding again from the beginning until the brake lever feels tight again!
Fill the reservoir 3/4 up and install the rubber diaphragm and the cap again. Wipe off any excess brake fluid that has run along the side and move on to the back brake.
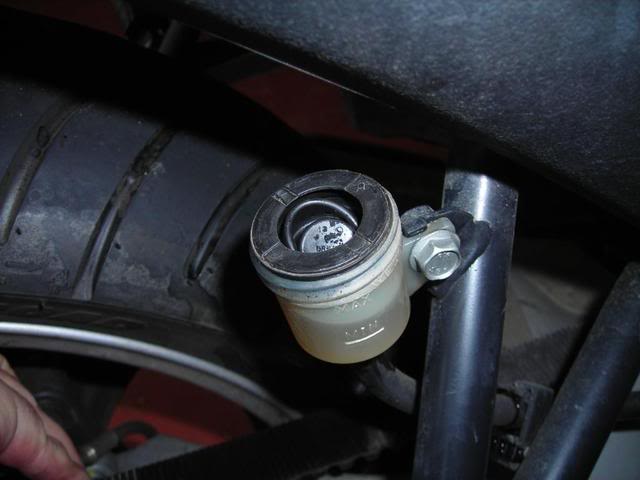
Unscrew the back cap and clean around the top plastic ring. Remove the ring and the rubber diaphragm again for the rear.
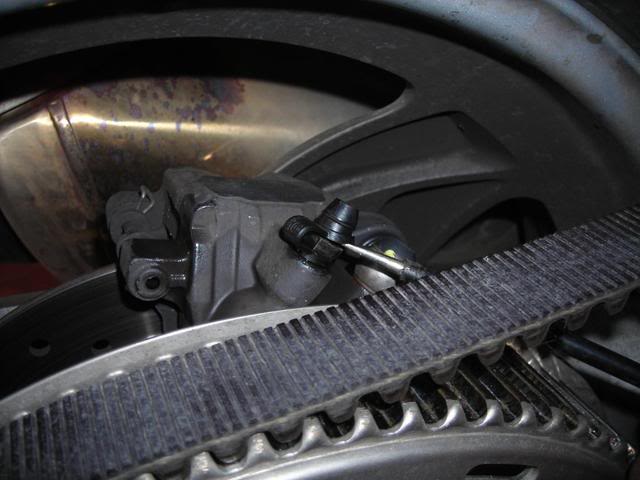
Clean around the back caliper and remove the bleeding valve cap. You can see that I was using a flat head screwdriver to pry off the cap. Remove the cap and clean again.
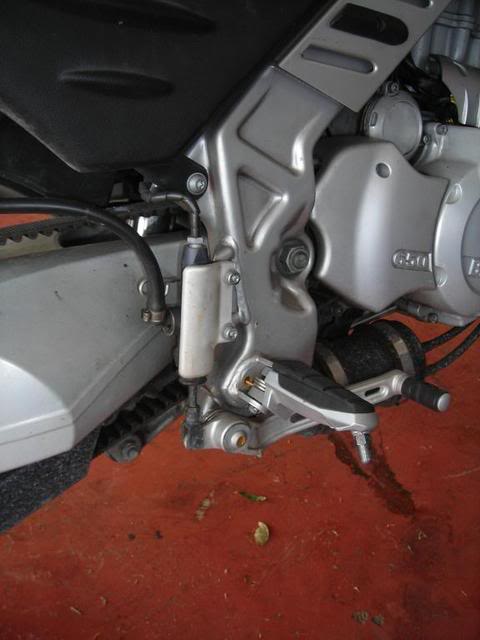
You will be hand pumping the rear brake lever with your hands to bleed the rears.
Here you can see some older brake fluid, its semi cloudy. Remove excess brake fluid with a turkey baster or syringe then fill the reservoir up to the top and again slow and steady pumps once you start the bleeding process.
Rear works the same as the front. Start pumping the pedal and open the bleeding valve 1/4-1/2 turn until you get a flash of old brake fluid and air. Bleed and pump while keeping an eye onto the fluid container until new fluid comes out and/or no more air bubbles. Close the bleeding valve while pumping to ensure a good tight brake pedal. Close everything up and clean up any brake fluid you might have spilled.
Have the rear cylinder filled halfway between min and max. To much brake fluid or brake fluid at the MAX levels has caused some issues for a lot of people.
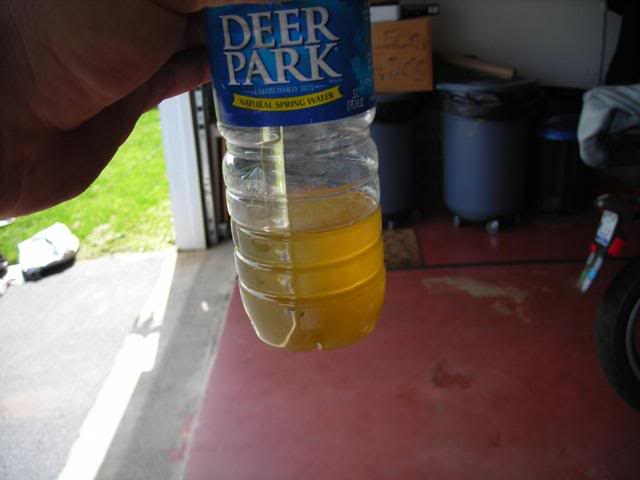
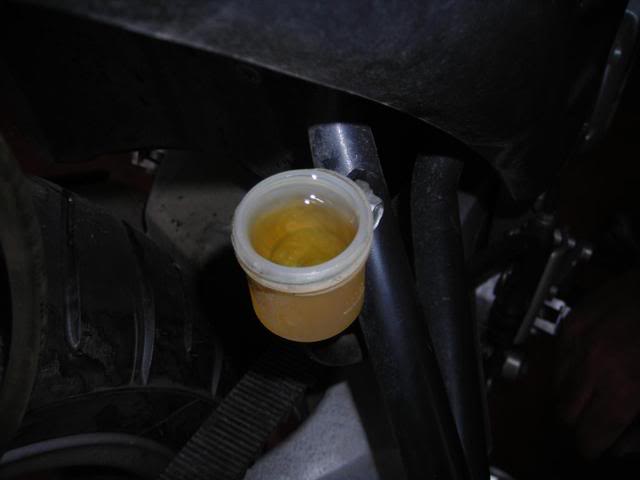
The old brake fluid from the bike.
Now with the above procedure you will not be able to bleed the ABS pump at air, the BMW dealer uses a computer to cycle the unit on demand to do this. If you need to bleed the system after having done extensive work, you can cycle the unit by turning the ignition on and off several times. When my rear brake was taken apart I had to bleed the system a total of 3 times until there was no more air inside the system.
Good luck.


